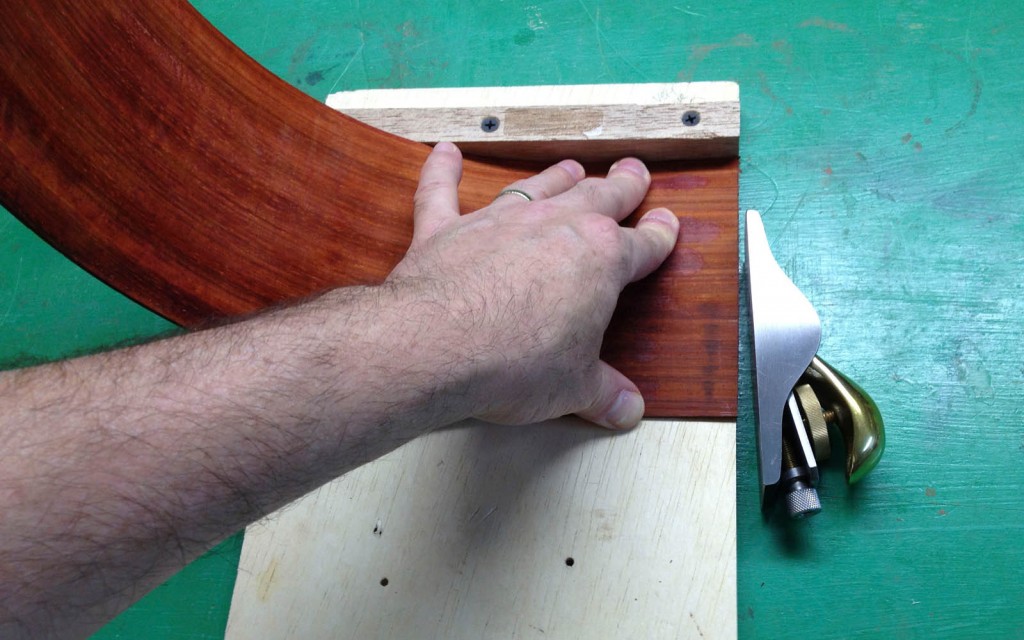
So we’ve successfully bent the rims and we’re ready to glue them up to make the rims/sides structure. The two sides meet at the neck join area (aka “heel”) and at the bottom (aka “tail”). They are overlength and are put into the mold to mark the correct lengths. Then they are sawed just outside this line. I used the band saw in this instance. Then the ends are nibbled away with a hand plane. In the photo below you see a little fixture that holds the sides to easily trim the work to a 90-degree angle to the top edge. There are four edges to clean up with the plane.
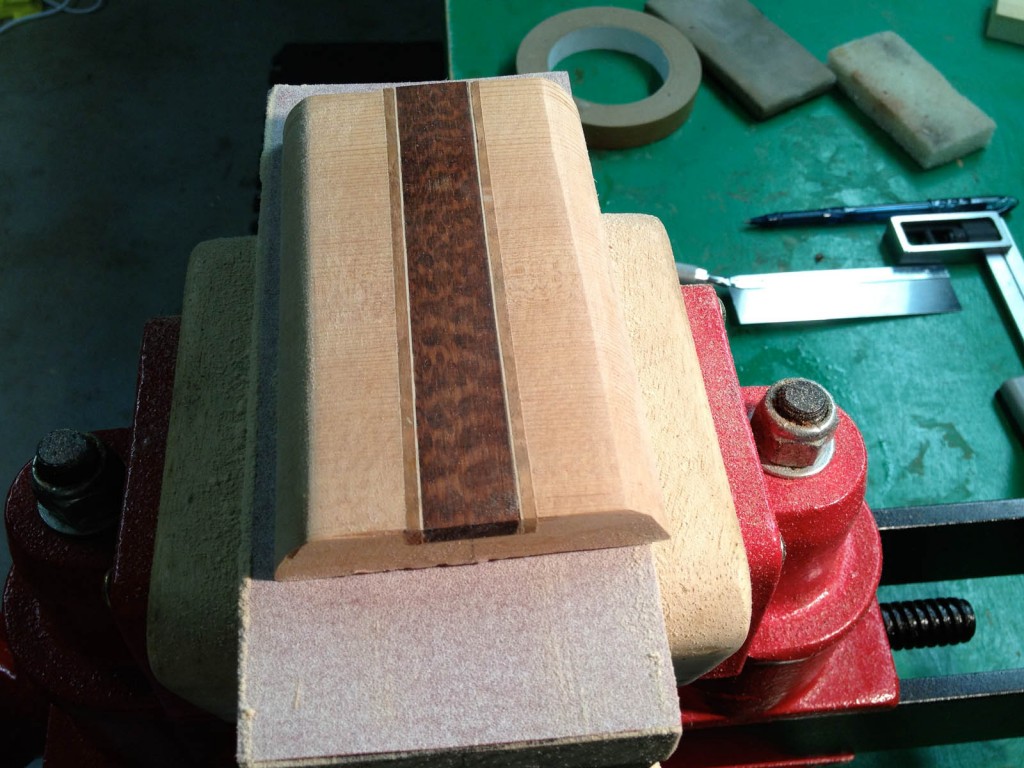
The first piece to glue to the sides is the tail block. For this guitar I made a light tail block of quartered Sitka spruce. The grain of the tail block runs in the same direction as the sides. This is important for two reasons: it expands and contracts with changes in the humidity in the same direction as the sides; and, it presents side grain to the top and back glue joints. You don’t want to glue into endgrain on critical joints.
This tail block was made more than a year ago. It has an inlay of seven pieces: a thin maple strip of purfling, a flamed koa piece about 1/8-inch wide, another thin maple strip, a three-quarter-inch-ish wide piece of snakewood, maple strip, koa piece and finally another maple strip. The inlay doesn’t really have any functional use, but it should look really good in a future photo on this blog that shows the shellac’d soundbox about to be closed. I read somewhere that Martin uses, or used on pre-war models, an inlay in their tail blocks, so this is not an original idea. But you can bet they didn’t use koa and snakewood inlay.
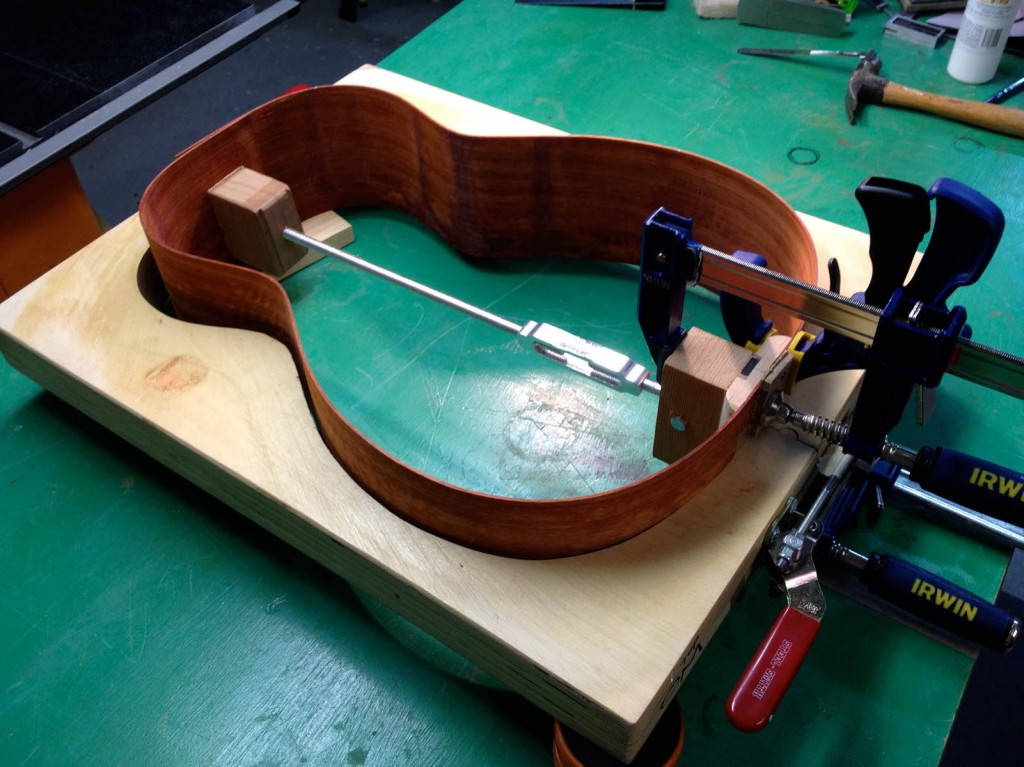
The sides are in the mold and the tail block is being glued. The last time I did this operation, the tailblock shifted and the joint — as well as the sides — was ruined. Glue is slippery stuff when you apply a few hundred pounds of pressure to it.
The neck block is critical because it will be under a great deal of pressure its whole life. This is where the neck connects to the body and the neck is constantly trying to move toward the bridge. It will move eventually. The strings generate something like 150 pounds of pressure at pitch, so this must be a strong, stable piece of wood.
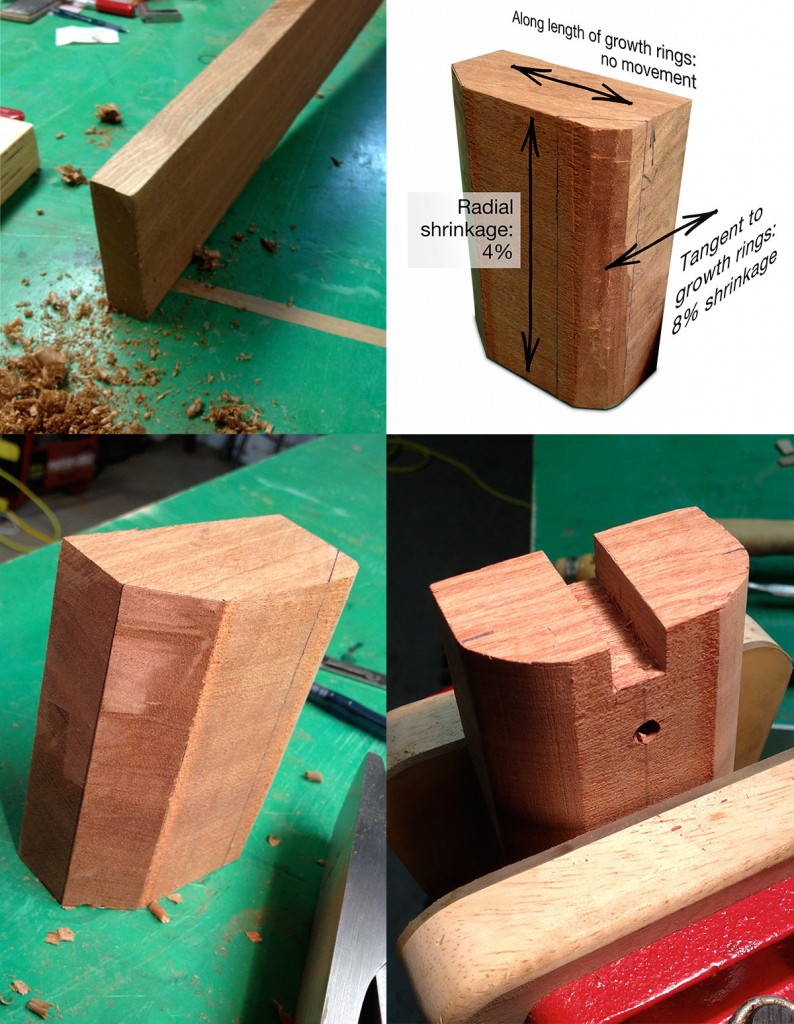
The photo above shows the making of the neck block. We start with a mahogany board (top left). I wasn’t sure whether this was Honduran or some African version of mahogany. I have supplies of both, but this board was the only aged board with the correct dimensions for a one-piece neck block. According to the weight-per-square-inch of the finished piece, I’d guess it is an African mahogany known as sapele. It’s a little heavier than the Honduran mahogany I have: 11 grams per cubic inch vs. 8 grams per cubic inch for known Honduran samples I’ve measured.
The top-right section of the photo shows the grain orientation of our block and the averages for shrinkage and expansion of mahogany. Since the wood shrinks in different amounts according to the plane measured, the builder needs to make sure that the neck block expands and shrinks in step with the sides. If you glue a side of the neck block that is expanding at 8 percent to a face of the sides that is expanding at 4 percent, you could have a glue joint that cracks. Quartersawn stock expands a lot less than flatsawn stock, so boil that into your calculations. And you should make sure that the top and back are not glued into neck block endgrain.
The lower left section shows the facets being planed off the corners of the neck block. Then two holes were drilled into the center of the neck block to allow neck bolts to be run through this block and into brass inserts embedded in the neck.
The lower right photo shows the finished neck block (in my jolly red Christmas vise) with a square notch chiseled out of the top of the block to accept the truss rod embedded in the neck and also the drilled neck-bolt holes. The corners of the bevels have been rounded off with the hand plane and the belt sander. The soundboard often cracks along the edge of the fingerboard/neck block. I round off the bevels here with the intention/hope of not presenting a hard corner edge to the top along a typical fault line. You must always remember to build with your wood’s nature in mind. In the case of redwood, that means it splits easily along the grain lines and is weak across the grain.
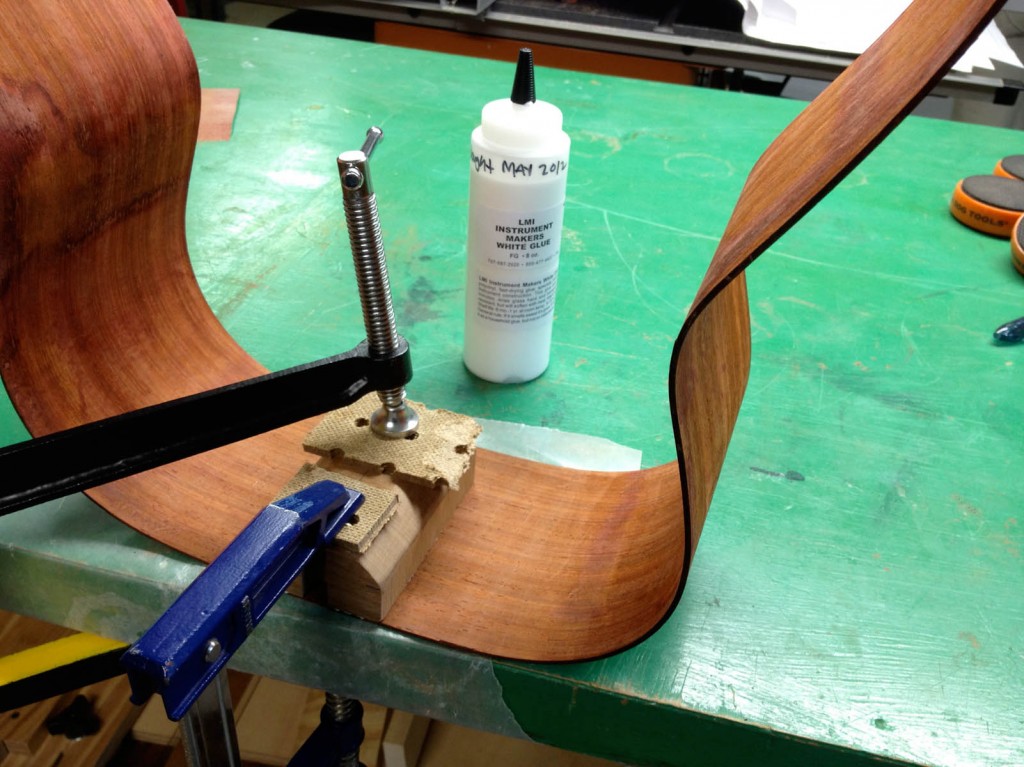
Here’s the neck block being glued to the sides. I show the glue bottle so that we know which glue was used where. There’s a lot of discussion among guitar makers about which glue is most appropriate in which joint. Some people use four or five different glues in one guitar and others just use a bottle of “I don’t know how old it is or whether it’s ever been frozen” Titebond Original yellow glue for every joint. And they all make nice guitars. For the record, I like this LMI white glue. If it is exposed to sub-40-degree temps or gets older than nine months, I throw it away. I also like hot hide glue, but it’s fussy and likes a little more preparation than my “sand it, clean it, squirt it and clamp it” method.
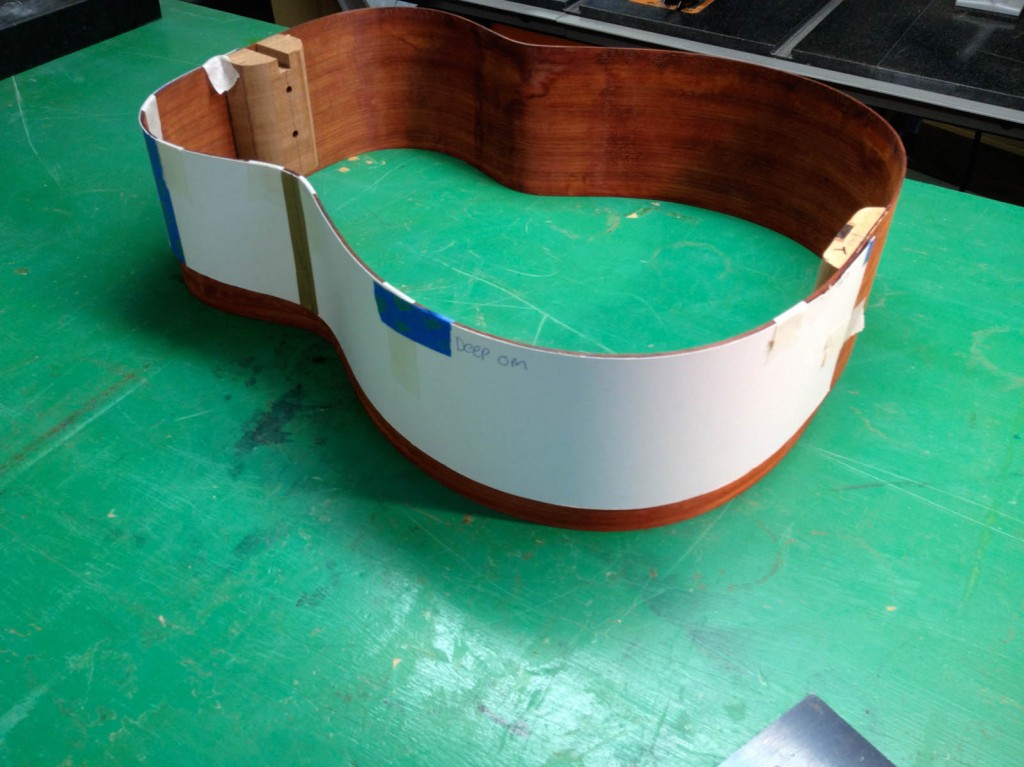
The white paper taped to the sides is a template of the final side shape. The sides have a complex shape because the back and sides are not flat but are bent into curved shapes to increase stiffness. So I made a paper template that is close to the final shape and use this to plane the rims down. This guitar is going to be 1/4 inch deeper than standard Martin spec. I’m hoping to get a little more bass out of it. I figure that having a side port and a normal size soundhole would sound a little thin with a standard depth/box volume. Mo’ box, mo’ bass, Herr von Helmholz.
The photo above shows the penciled-in outline of the paper template. A couple inches of wood needs to be removed at the neck area.
After a lot of planing, the rims are close to their final shape and it’s time to start thinking about the next step — the linings.
Next post: Making the rims, part two: solid linings and a soundport ›

